
Be honest — how many open tabs, online courses, or bookmarked articles do you have waiting for “someday”?
If you’re like most curious minds, that list could fill an entire bookshelf (or two). The truth is, we’re drowning in great resources — podcasts, newsletters, online classes — but we rarely have a system for using them intentionally.
I used to call it productive procrastination. I’d collect materials faster than I could absorb them. Eventually, I realized I didn’t need more learning — I needed a better way to organize my learning.
This article will show you exactly how to build and organize your learning stack — a sustainable, flexible system to capture, process, and apply what you learn without the overwhelm. Whether you’re a professional sharpening your skills or a lifelong learner trying to bring order to the chaos, this guide will help you create calm in your knowledge flow.
What Is a “Learning Stack” — and Why It Matters
A learning stack is your personalized ecosystem of tools, habits, and workflows that help you collect, organize, and retain information efficiently. Think of it as your personal learning infrastructure.
Unlike random note-taking or binge-watching online courses, a well-structured stack ensures your knowledge compounds over time rather than vanishing into digital clutter.
Why You Need One
- Efficiency: No more re-Googling the same concept twice.
- Retention: You actually remember and apply what you learn.
- Clarity: You know where everything lives — notes, insights, resources.
- Progress: You can track how your learning connects to your goals.
It’s not about using every shiny new tool. It’s about designing a system that aligns with how you think, create, and grow.
Key takeaway: Your learning stack should simplify your growth, not complicate it.
Step 1: Clarify What You’re Learning For
Before choosing tools or workflows, step back and ask: Why am I learning this?
Without direction, your learning stack becomes a digital junk drawer — impressive, but useless.
Define Your Learning Goals
Start by grouping your goals into three buckets:
- Foundational Learning – Skills or knowledge that support your career or core interests.
Example: mastering data visualization or improving writing clarity. - Exploratory Learning – Topics that spark curiosity but aren’t urgent.
Example: philosophy, design, or behavioral psychology. - Just-in-Time Learning – Things you need immediately for a project or decision.
Example: learning how to use Notion databases for a client setup.
By defining these categories, you give your learning stack a clear structure and avoid letting every “interesting” topic hijack your focus.
Mini reflection: What’s one area of knowledge that would genuinely move the needle for you right now?
Step 2: Audit and Simplify Your Tools
We live in the golden age of productivity software — but also the age of app fatigue. You don’t need a dozen tools to learn efficiently. You need a few reliable ones that work together.
The Core Four of a Learning Stack
- Capture Tool – Where ideas, quotes, and discoveries go first.
Examples: Notion, Evernote, Apple Notes. - Processing Tool – Where raw notes become structured insights.
Examples: Obsidian, Roam Research, Tana. - Reference Library – A digital archive of finished learning materials.
Examples: Notion databases, Google Drive folders, Readwise Reader. - Execution System – How you apply what you learn (projects, writing, teaching).
Examples: Todoist, Trello, Notion projects page.
If your tools overlap, you’ll double-handle information. Keep each tool’s role clear and minimal.
Key takeaway: Fewer tools. Clearer purpose. Smoother flow.
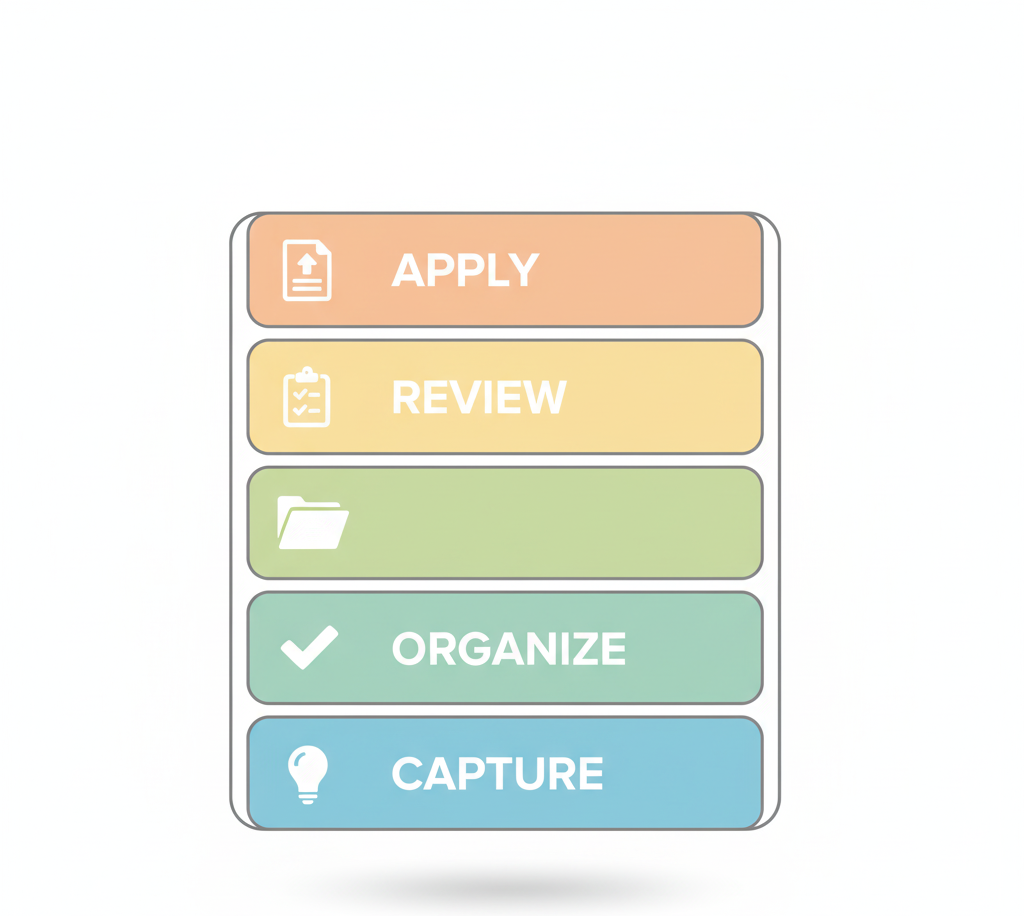
Step 3: Create a Capture & Process Workflow

The backbone of your learning stack is how you capture and process new information.
If you’re reading, watching, or listening daily, you need a lightweight capture method that fits seamlessly into your life.
Capture: Don’t Overthink It
- Use Readwise Reader or Instapaper to save articles with highlights.
- Jot quick ideas in Apple Notes or Notion Quick Capture.
- Keep a “Learning Inbox” page for unprocessed items.
The rule: Capture first, organize later. Don’t lose momentum trying to categorize in the moment.
Process: Turn Input into Insight
Once or twice a week, go through your “Learning Inbox” and:
- Delete anything irrelevant.
- Summarize key points in your own words.
- Tag or link it to relevant topics or projects.
- Store it in your long-term knowledge base (like Notion or Obsidian).
This step transforms random notes into living knowledge.
Mini story: I used to highlight entire books and never revisit them. Now, I process every highlight once — into a summary that connects to what I’m working on. The difference in retention? Night and day.
Step 4: Build a Learning Review Habit
Information compounds only when you revisit it. That’s where your review system comes in — the quiet backbone of long-term learning.
Set Simple Review Rhythms
- Weekly Review: Scan your new notes and summarize key lessons.
- Monthly Review: Reflect on progress and prune irrelevant topics.
- Quarterly Review: Realign your learning with your evolving goals.
These reviews help you spot patterns — recurring interests, ideas worth exploring deeper, or knowledge you’ve already outgrown.
Key takeaway: Learning is less about consumption and more about reflection.
Step 5: Design for Action and Retention

Knowledge without application is just well-organized trivia.
To make learning stick, you need to connect insights to real-world action.
Ways to Apply What You Learn
- Teach it: Write a blog post, newsletter, or LinkedIn reflection.
- Create something: Use a new skill in a personal project.
- Share it: Discuss with peers or online communities.
- Test it: Apply one small insight in your workflow this week.
The more you express knowledge, the deeper it embeds in your brain.
“If you can’t explain it simply, you don’t understand it well enough.” — Einstein
When your learning stack is built for output, you’ll start noticing something magical — learning stops being an obligation and starts feeling like creative momentum.
Step 6: Maintain and Evolve Your Stack
A good learning system is alive. It should evolve with your interests, career, and technology.
Every few months, do a light “system cleanup”:
- Remove tools you’re not using.
- Reorganize your digital library.
- Archive outdated topics.
- Refresh your goals and focus areas.
Think of it like decluttering your digital mind — you’ll feel lighter, sharper, and more intentional afterward.
Key takeaway: Your learning stack should grow with you, not weigh you down.
Optional Tools & Resources
Here are a few reliable tools worth exploring (no fluff, just what works):
- Readwise Reader — Streamlines reading and note capture.
- Notion — Integrates notes, goals, and projects seamlessly.
- Obsidian — Excellent for connected thinking and Zettelkasten-style notes.
- Tana — Dynamic new tool for building flexible knowledge graphs.
- Todoist — Simple project execution and task tracking.
Conclusion: Make Learning Flow, Not Hard Work

Organizing your learning stack isn’t about productivity perfection. It’s about creating clarity and continuity in your growth. When your learning has a home, you stop chasing new inputs and start living with intention.
So take one hour this week to review your tools, clarify your goals, and build your capture system. You’ll be amazed how much calmer your mind feels when your ideas finally have structure.
If you enjoyed this, you might also love How to Plan a Deep Work Week — a perfect next step to pair focused learning with meaningful execution.